
Front Brake Pad Replacement: Step by Step Guide
Posted by admin at 17 October 2014, at 18 : 49 PM
The front brakes on most vehicles offer upwards of 70% of the overall stopping power. Keeping them in good working condition is fairly simple as long as you don’t wait until their metal on metal (that grinding sound you’re hearing when you stop.. you know the one!!). So here is a step by step guide of front brake pad replacement.
A simple pad change starts with choosing pads — A word of advice, don’t buy the cheapest ones you can find, they usually heat up faster and warp or groove your rotors. The mid grade pads are usually the best for the money and they last a lot longer.
After selecting your pads and buying a small packet of caliper pin grease (yes, you need it!), it’s time to gather up some tools. It’s a pretty short list; get your 3/8 drive ratchet, a socket set, a c-clamp, a small hammer, screw driver, and some mechanics wire.
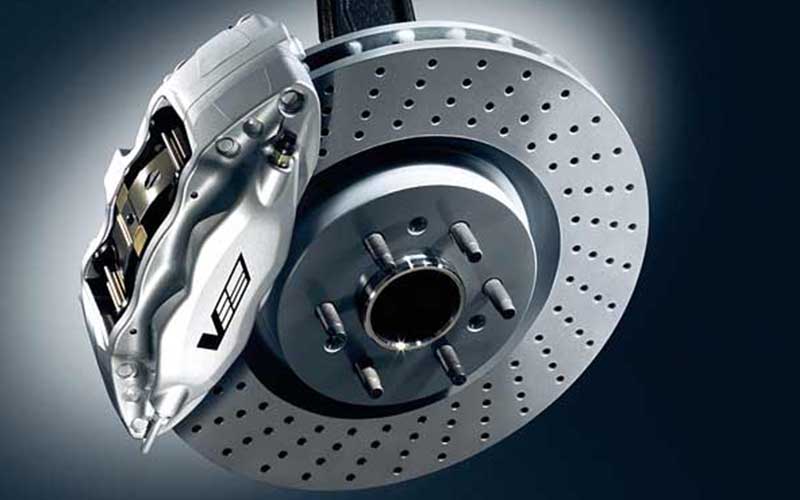
Crack the lug nuts on the side you’re gonna start with and jack up the car just high enough to take off the tire. Obviously your next step is to take off the tire. After the tire is off, you can see the caliper that houses the brake pads. Stick your head in and you’ll see the bolts that hold it in place. Take your ratchet with the proper sized socket and take them out – there are usually only two. If you find these bolts to be hard to get out, then that’s when the hammer comes into play – use it to hit the end of the ratchet until the bolt starts to turn. Now your caliper should be ready to come off. Wiggle it up and away from the housing and rest it in whatever place you can without it hanging from the brake hose that’s attached to the back. Remove the pad that was facing outwards towards you and use the other pad that’s still on as a point for your c-clamp to push on. Put the clamp on the caliper as straight as possible without using the brake line or the nut that holds it in. Crank the clamp down until the old pad hits the housing nice and flat. Now, match the pads to the ones you took out and replace the caliper into its original position. Take the bolts that you took out and use the pin grease on the smooth part of it and replace them. Repeat the procedures on the other side and you’re good to go.
One last thing I would like to mention is when you finish the job, you should start the vehicle in park and push the brakes a couple of times until the pedal comes back to where it was. When you pushed the pad back it takes a few steps on the pedal for the system to readjust.
Hope this front brake pad replacement guide helps and good luck. 🙂